


If you've ever bought a cast iron skillet and then wondered, Now what?, you're not alone. Seasoning is probably the part of cast iron care that gets made to sound much more complicated than it really is. You don't need a special technique, a perfectly black pan, or a whole afternoon set aside for maintenance. In fact, if you use your skillet regularly, much of the seasoning happens naturally while you're cooking.
That said, there are times when your skillet could use a little extra attention. Maybe the surface looks dry, you've noticed a few spots where the seasoning has worn thin, or you simply want to give an older pan a fresh start. That's where knowing how to properly season cast iron comes in.
What Is Cast Iron Seasoning?
Despite the name, seasoning has nothing to do with salt, pepper, or anything you're going to taste in your food. Cast iron seasoning is simply a layer of oil that has been heated until it bonds to the surface of the iron. This process, called polymerization, creates the protective coating that helps keep your skillet from rusting and gives it that naturally nonstick cooking surface.
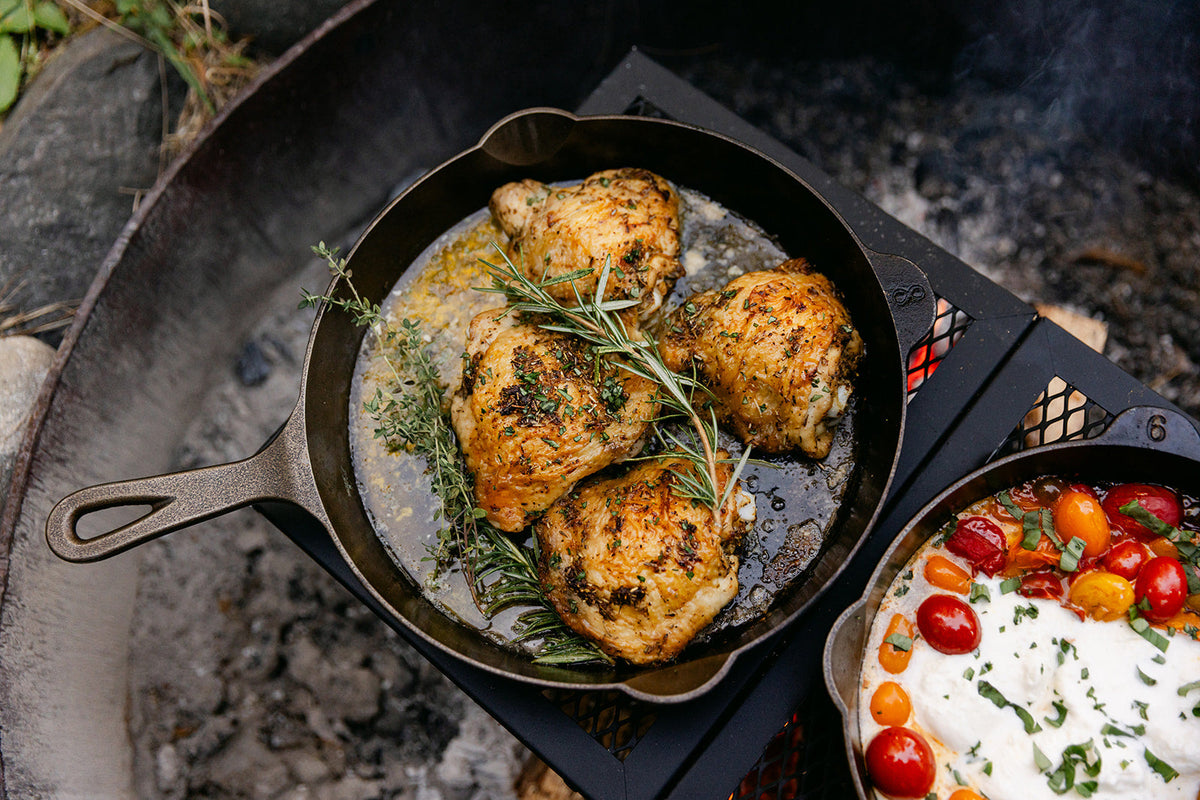
The important part is that seasoning isn't something you do once and forget about. It develops gradually. Every time you cook with a little oil or fat, you're helping build that surface. Sautéing vegetables, frying potatoes, cooking bacon, searing a steak, or baking cornbread all contribute to the seasoning of your skillet.
That's one of the things we like most about cast iron. The pan doesn't stay exactly the same from the day you buy it. It changes with you.
Do You Need to Season a New Lancaster Skillet?
Every Lancaster Cast Iron skillet comes pre-seasoned with two coats of grapeseed oil, so it's ready to cook with when it arrives. Before your first meal, give it a quick wash with warm water and a small amount of mild dish soap, dry it thoroughly, and you're ready to get cooking.
From there, don't feel like you need to immediately put your new skillet through five rounds of oven seasoning. Just use it.
For the first several meals, it can help to use a little extra oil and stick with foods that are naturally easy on a newer seasoning layer. Sautéed vegetables, bacon, cornbread, and other foods cooked with a bit of fat are all good places to start. As you cook, the seasoning will continue to develop and become darker, smoother, and more durable.
And if your skillet doesn't turn perfectly black right away, don't worry. A new skillet can have lighter areas, darker areas, or a somewhat uneven appearance. That's normal. The color will change as the pan gets used.
When Should You Re-Season Cast Iron?
Most of the time, regular cooking and proper cleaning are all your skillet needs. But every once in a while, you may want to add another layer of seasoning.
A good indication is when the cooking surface starts looking unusually dry or dull, food begins sticking more than it normally does, or you've accidentally removed some of the seasoning while cleaning. Rust is another reason you may need to give the pan some attention, although a small rusty spot doesn't mean your skillet is ruined.
You also don't need to panic if the surface looks a little patchy. Cast iron doesn't have to look perfect to cook well. In fact, a skillet can have some variation in color and still have excellent seasoning. If you are experiencing issues and you don't know your next step, check out our trouble shooting guide.
How to Season Cast Iron in the Oven
When your skillet really does need a fresh layer of seasoning, the oven method is straightforward. Start by giving the pan a thorough cleaning. You want to remove any stuck-on food and make sure the surface is clean before adding more oil. If there are particularly stubborn spots, a more abrasive scrubber can be used to get them loose.
Once the skillet is clean, dry it completely with a clean towel. This is an important step because moisture left behind on cast iron can eventually lead to rust.
Preheat your oven to 480°F.
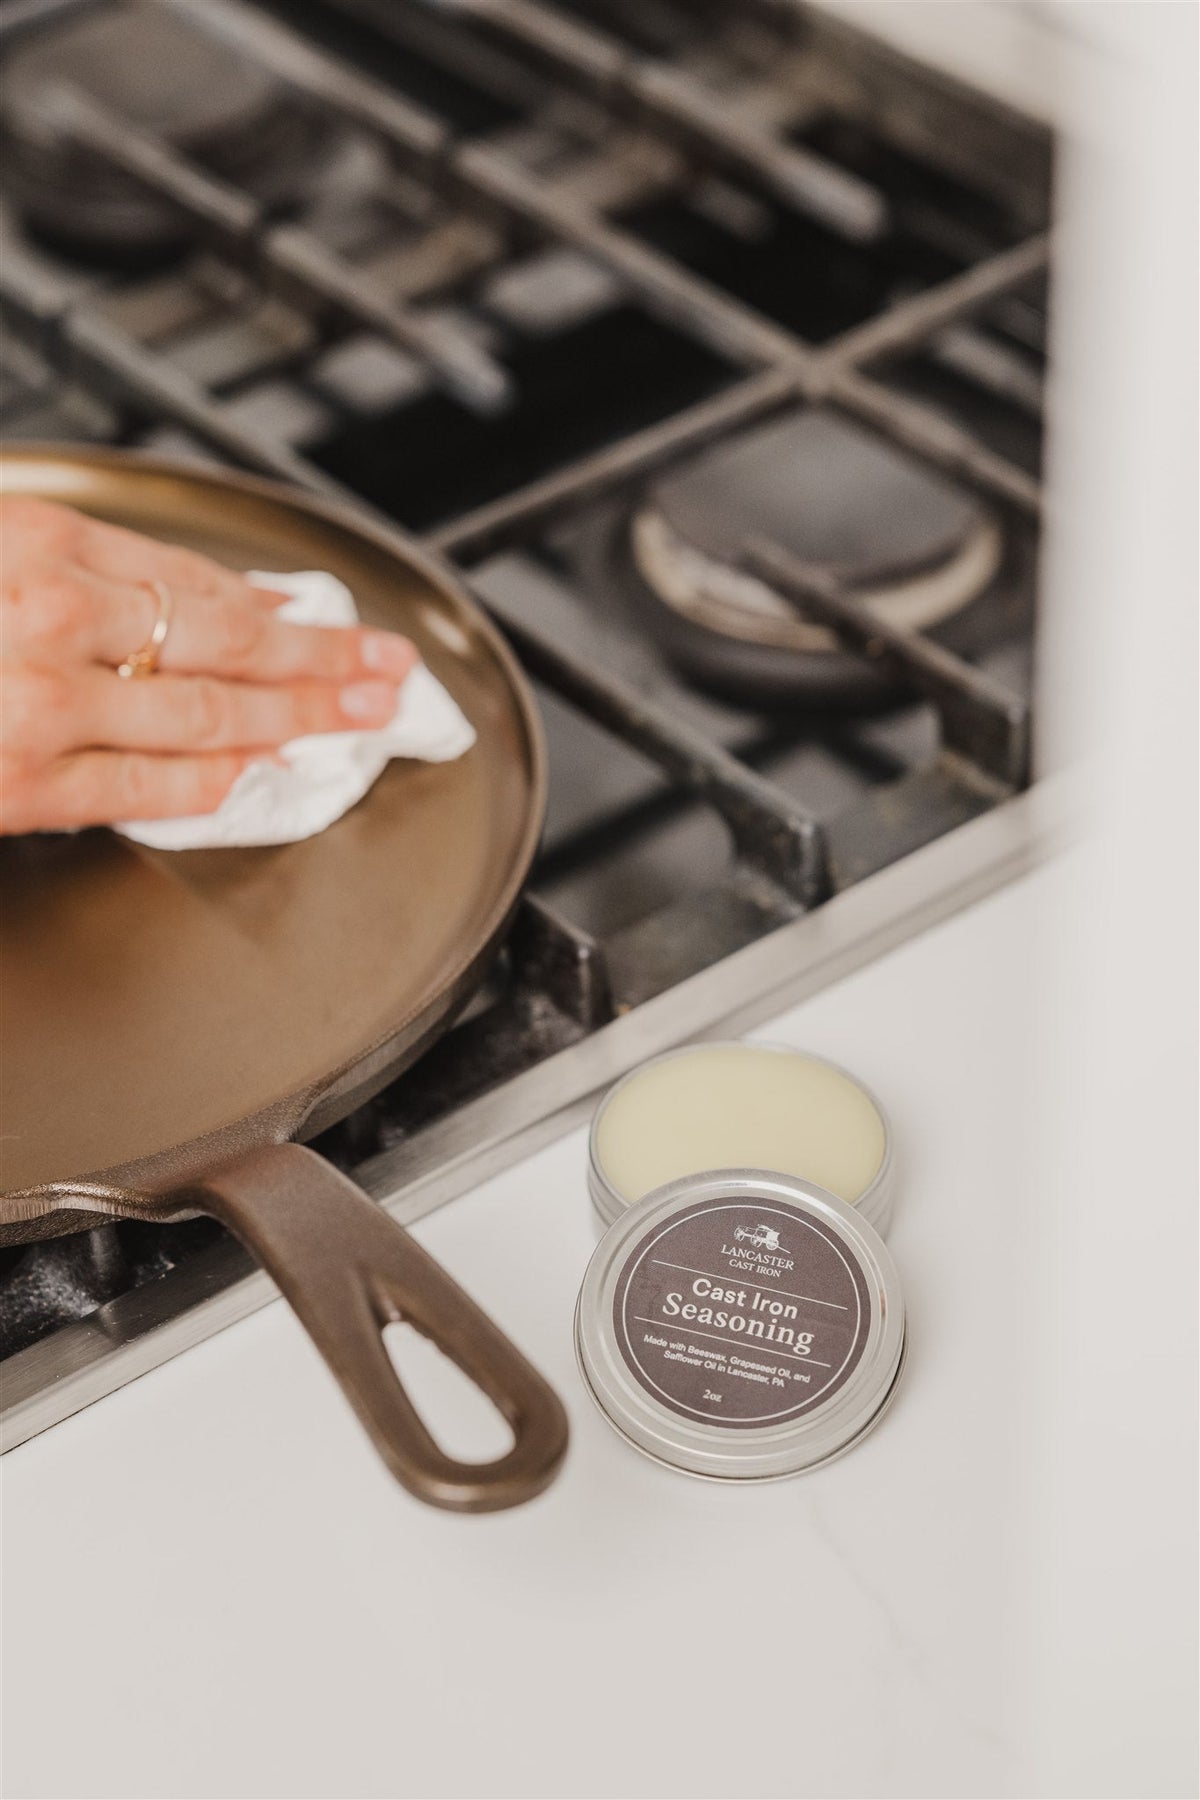
Next comes the part that causes the most trouble: the oil. You really don't need very much. Apply a small amount of cast iron seasoning or a high-smoke-point oil over the entire skillet, including the cooking surface, lip, handle, and exterior. Then take a clean paper towel or shop towel and wipe the pan again. And then wipe it again.
The skillet should look almost dry when you're finished. It might seem strange to put oil on the pan only to wipe nearly all of it away, but this is exactly what you want. Leaving too much oil behind can result in a sticky, patchy, or spiderweb-like finish instead of a smooth layer of seasoning.
Place the skillet upside down in the oven and let it cure for about 40 minutes. Once the time is up, turn off the oven and allow the skillet to cool. If you want to build additional layers, repeat the process two or three more times.
What Oil Should You Use?
There are plenty of opinions about which oil makes the "best" cast iron seasoning. You'll hear recommendations for everything from vegetable oil to flaxseed oil to grapeseed oil.
At Lancaster, we use grapeseed oil for our factory seasoning because it works well at high temperatures and creates a durable cooking surface. Our Lancaster Cast Iron Seasoning is made with grapeseed oil, safflower oil, and locally sourced beeswax from beekeepers in the Lancaster, Pennsylvania area.
How to Keep Your Seasoning Healthy
Here's the good news: maintaining seasoning is considerably easier than building it from scratch.
After cooking, clean your skillet and dry it thoroughly. You can use warm water and, when necessary, a small amount of dish soap. Despite what you may have heard, modern dish soap isn't going to destroy a properly established layer of seasoning.
For stubborn food, a chainmail scrubber or another gentle abrasive can help. The goal is to remove the food without aggressively stripping the cooking surface.
Once the skillet is clean, towel dry it and put it over low heat for a few minutes. This allows any remaining moisture to evaporate. While the pan is still warm, wipe a few drops of oil or seasoning blend over the cooking surface. Then, just as when you're seasoning in the oven, wipe away the excess until the pan feels almost dry.
That tiny bit of maintenance takes less than a minute, but it goes a long way.
The Best Way to Season Cast Iron? Use It.
There are plenty of cast iron rules floating around online, and some of them can make owning a skillet seem intimidating. The reality is much simpler.
Keep it reasonably clean. Keep it dry. Use a little oil. Don't leave it sitting in water. And cook with it regularly.
Your Lancaster skillet already arrives with two layers of seasoning, so you can start cooking from day one. If it eventually needs another layer, the oven method is there for you. Otherwise, let your cooking do most of the work.
A well-seasoned skillet isn't supposed to look untouched. It's supposed to look used.
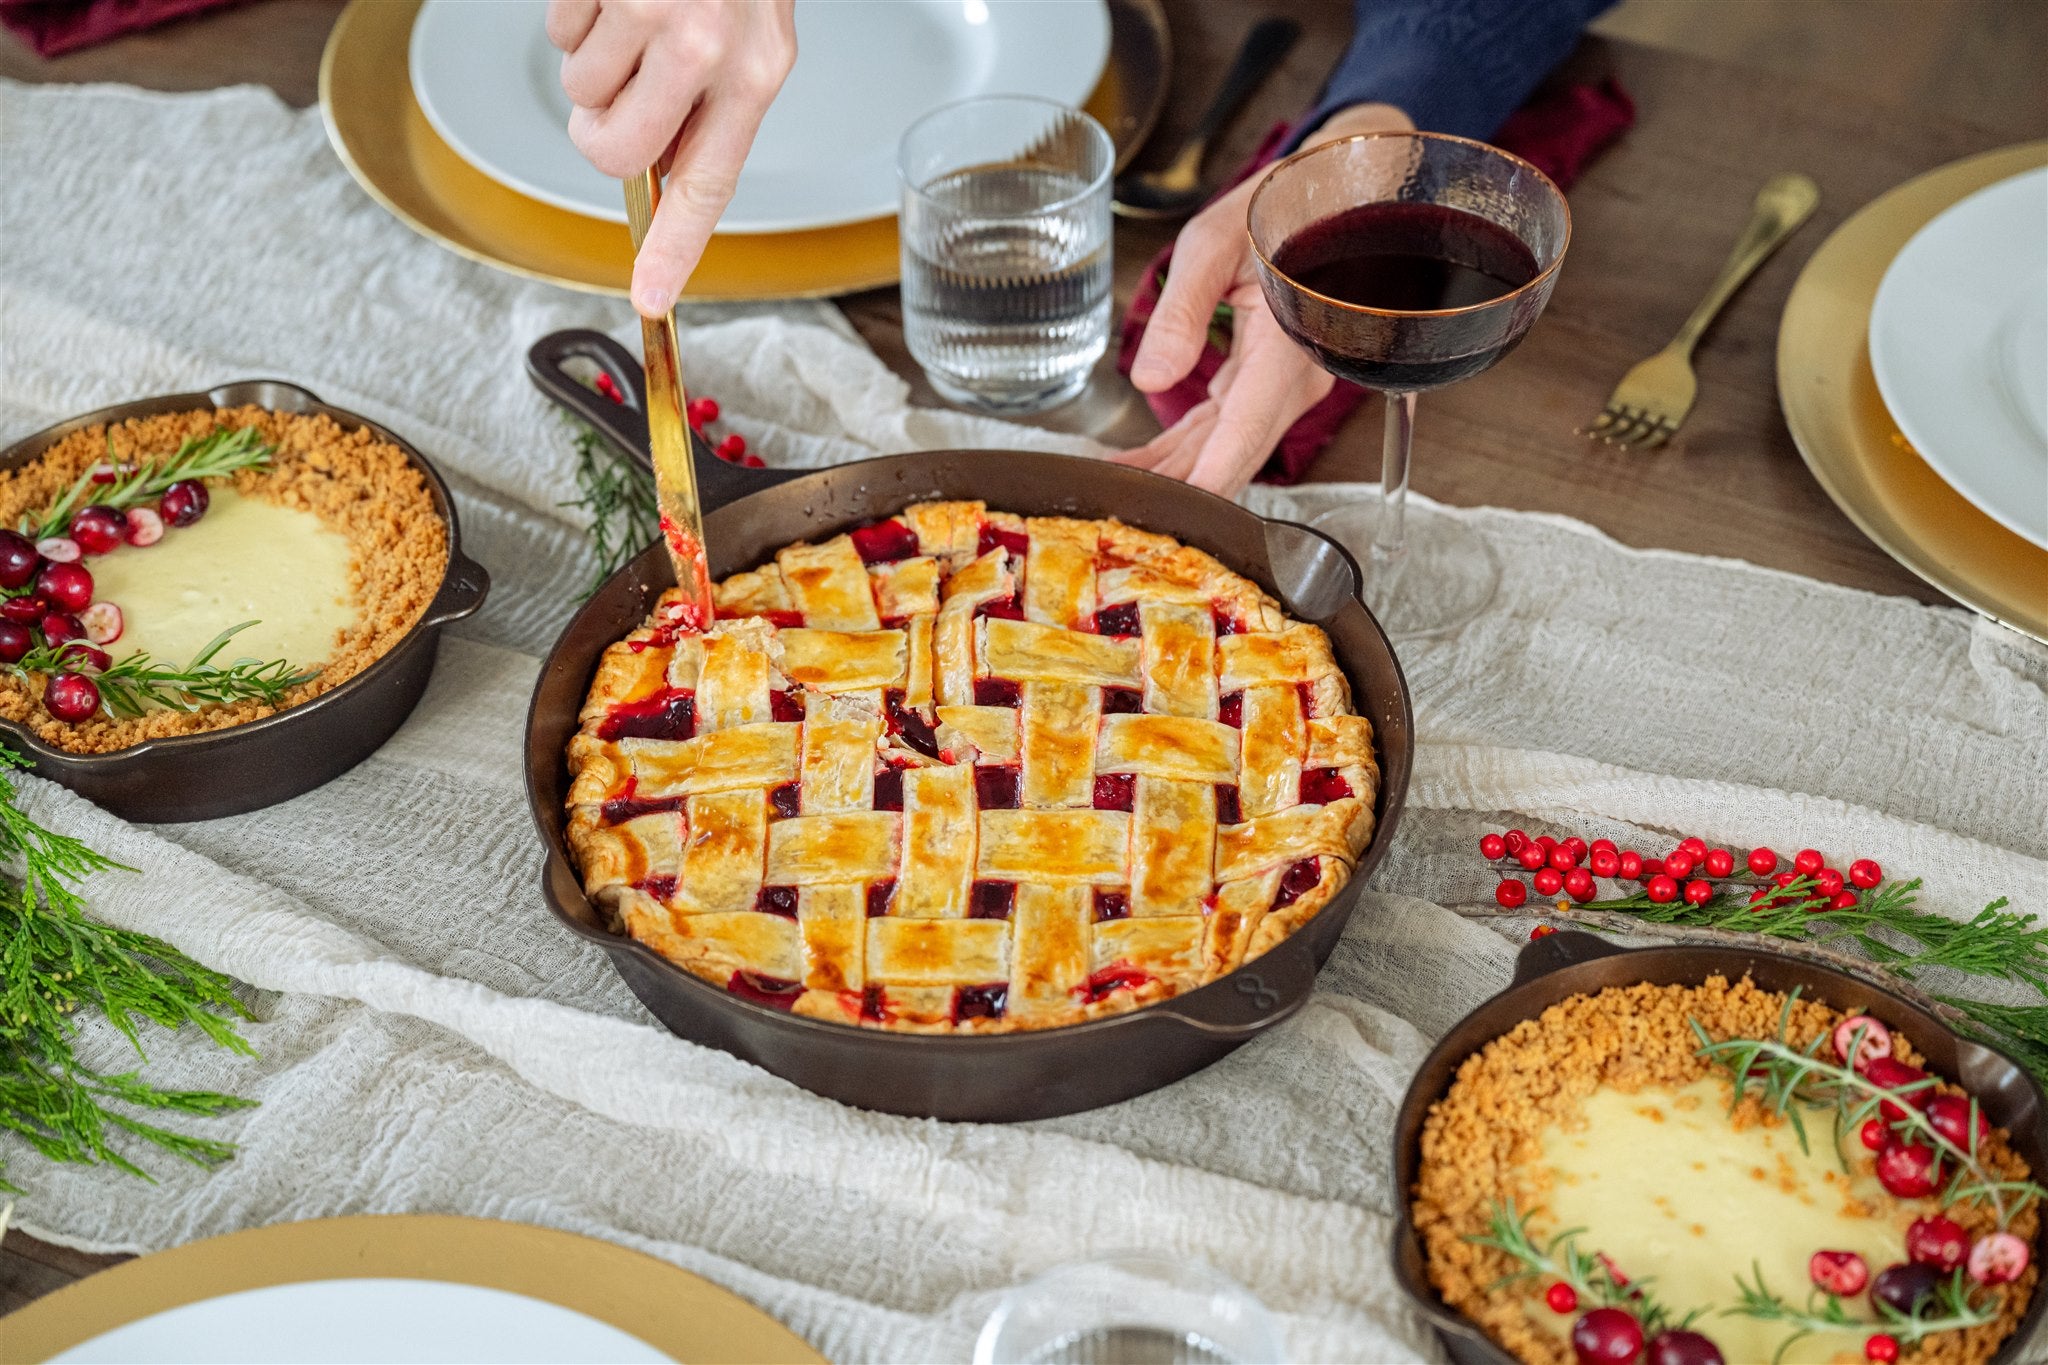
The darker surface, the little variations in color, and the smoothness that develops over hundreds of meals are all part of the story. That's what makes cast iron different from cookware that you replace every few years.
You cook with it, take care of it, and over time it becomes yours.
And eventually, you might hand that same skillet down to someone else.

Share:
The Wood Gift Guide: Thoughtful Gifts for Every Kind of Cook
What Size Cast Iron Skillet Do I Actually Need?